How to Install the CrowdStrike Falcon® Sensor
Hey, there. My name’s Peter Ingebrigtsen. And you’re here today because you’d like to learn more about CrowdStrike’s Falcon Sensor– how to install it, how it works, and what it would take to get it running in your environment, or just on a single system. And today I’m going to show you how to do that.
In order to get started, you’re going to need to get an email from CrowdStrike. In this email, it will give you instructions to activate your account. As they’re all cloud-based, it will just drop you into a web page. So when you click on those, it’ll open a browser. The recommended browser is Chrome, but any should work.
Now, I’ve already activated my account. So, when I click here, I’m just going to be dropped into this web page here– the falcon.crowdstrike.com login page. However, on your end, you’ll be dropped into a screen where you’ll set up two things– first, your password, and second, two-factor authentication. It will have you confirm your password, and then select your method for two-factor authentication.
I’ve used an application called Google Authenticator. And this is available in the App Store both for Android and iOS. And that way you can always have it with you. But it’s a rolling key. And all you do is you open up the app, and type in the six digit key that happens to be valid for that time period.
Once you’ve done that, you’ll be dropped into this Detections tab. You probably won’t have anything set up at this point. Your main interest is going to be at our Home app, which is the Falcon in the upper left-hand corner.
In the Falcon app, there are two main tabs– the Welcome and the Resources. But for now, we’re just going to take a quick look at the Resources. And I’d recommend downloading two of the applications that we have provided in the user interface. One is a Falconware eval malware– so, you check this box. And the second is the sensor that matches the operating system that you’re going to be putting this on.
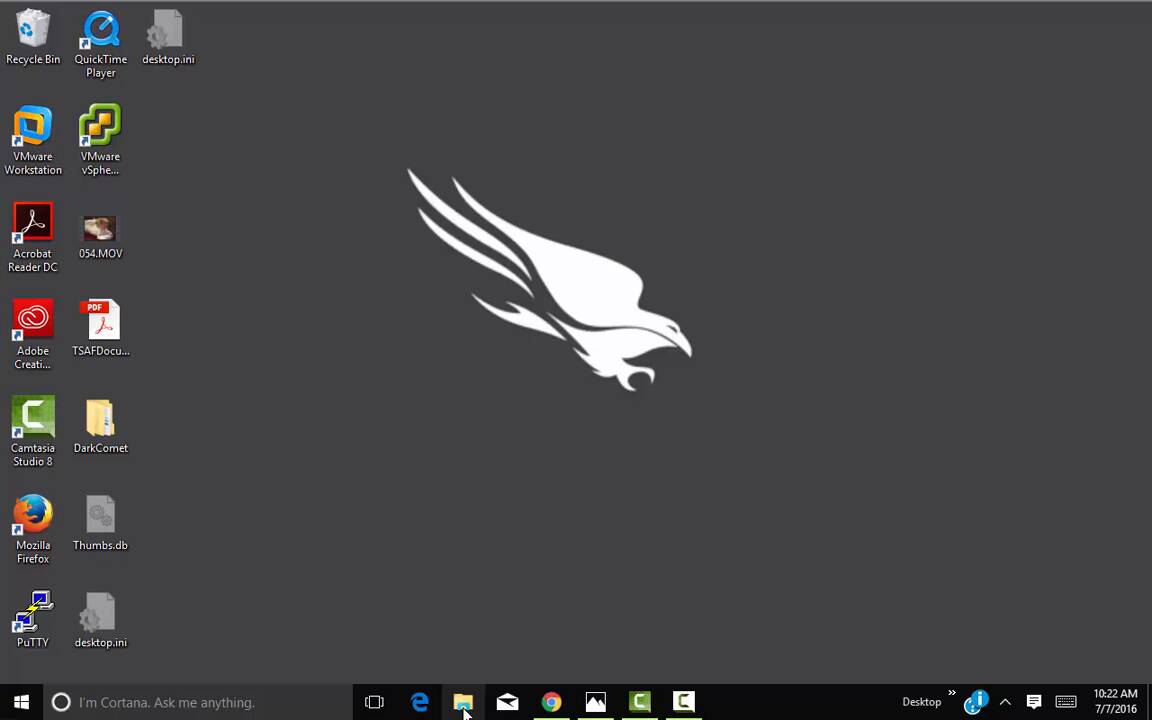
For me, I’m going to go and just double-check my settings here. And I see that I’ve got a Windows 10 and that it is a 64-bit operating system. And just for note, the computer name happens to be Sando, mainly because I was eating a sandwich at the time I was setting this computer up and I couldn’t think of a different computer name. So I went with Sando.
And check the Windows 64 for this device. Now, I’ve already actually downloaded this Falconware eval malware, so I’m going to skip that step and it’ll save us a few minutes, too, on the download. So, you select what you need, and then Windows x64, and then download the selection.
The sensor itself is about two megabytes– so, very lightweight. But once it’s installed, it’s going to call out to our Cloud and download a few other bits of information so that it can operate properly.
All right. So, it’s downloading. You’ll notice that it’s a .msi. So, this can be deployed either individually, like we’re doing now, or through a group policy through Active Directory, or however you’d like to deploy it to your entire organization, if that’s what you’re working on.
All right. Complete the CrowdStrike Falcon® Sensor setup, and click the Finish button to exit the Setup Wizard. So, click Finish. That’s it. The sensor, itself, has been installed. And shortly, it will be communicating to the Cloud and pulling down additional bits of information it will need.
Now, you’ll want to make sure that it’s up and running properly. So, there’s about three different ways that you can do this. One is checking in the folders to make sure that the CrowdStrike Strike folder is there. Just go to your C drive, Windows, System32. And you’ll notice that there’s a CrowdStrike folder in this location.
Now, if you get here quickly, you’ll notice that there’s just a few of these files here. And this is what’s going to be added as it reaches out to the Cloud and phones home to your environment in the cloud. So, that seems to be up and running fine.
The other way that we can do it is just quickly go to the Control Panel, and take a look at our installed programs. And we’ll see here that the CrowdStrike Falcon® Sensor has been installed.
And then, finally, the third way that we can check to make sure that everything’s working OK is by opening up a Command Prompt. And typing cs query– spell it right– query cs agent. And you’ll see that the state is running. So, everything seems to be working on the host itself at the endpoint.
So, now we can go out to the website again, and take a look around. The one thing that we’ll want to do, initially, is go to the Events. And then once we’re in the Events app, across the top you will have six different tabs. And we’re interested in Sensors, and specifically Newly Installed Sensors.
And I’m just going to go to the last 15 minutes or so, so that we can take a look at the most recent. And in this case, we will see that Sando has recently installed a sensor to Windows 10. This is a Surface. So, everything looks like it’s up and running.
Now, just one more step we can do just for additional verification and just for familiarity with the product. Like I mentioned earlier, I downloaded that Falconware sample malware. And it’s called DarkComet. And DarkComet is a remote access tool, if you’re not familiar with it. And all you want to do is download that, and then launch the application. We’ll give that a minute to run.
So, let’s come back here. And in the Falcon User Interface, we’ll want to go to Detections. And we’ll want to go to Detections to investigate this a little bit further.
Now, we’ll notice that right off the bat, Sando– my machine here. We could narrow this down– filter this through the Unresolved or Resolved tabs here. And let’s click into this to see what’s going on.
You can see we have set three separate detection patterns and that DarkCometRAT.exe. One of the patterns we detected there was no malware. Machine Learning caught it and so did Intelligence. So, our Intel department also caught that.
If you’d like to see more execution details, you can come down here. That’s also available to look at. So, a lot of good information.
The sensor’s up and running. It took just a few minutes. And without a reboot, we’ve got endpoint protection that we didn’t have before.
Thanks for watching this video.