Install Falcon Sensor for Mac
May 2, 2024
| Tech Hub•Charlotte AI•Cloud Security•EDR•Exposure Management•Intelligence•IT Automation•ITDR•Next-Gen SIEM
Summary
In this resource, you will learn how to quickly and easily install the Falcon Sensor for Mac.
The Problem
The installation of cybersecurity tools on diverse operating systems, especially Macs, can be fraught with compatibility issues and complex setup processes, increasing the risk of cyber threats slipping through the cracks.
The Value of the CrowdStrike Falcon Sensor
CrowdStrike’s Falcon Sensor addresses these challenges by offering a seamless installation process, tailored for the unique architecture of Mac systems. It ensures robust and comprehensive protection without the usual complexities, safeguarding your network with minimal effort and maximum efficiency.
Downloading the Sensor
Start by downloading the latest Falcon sensor:
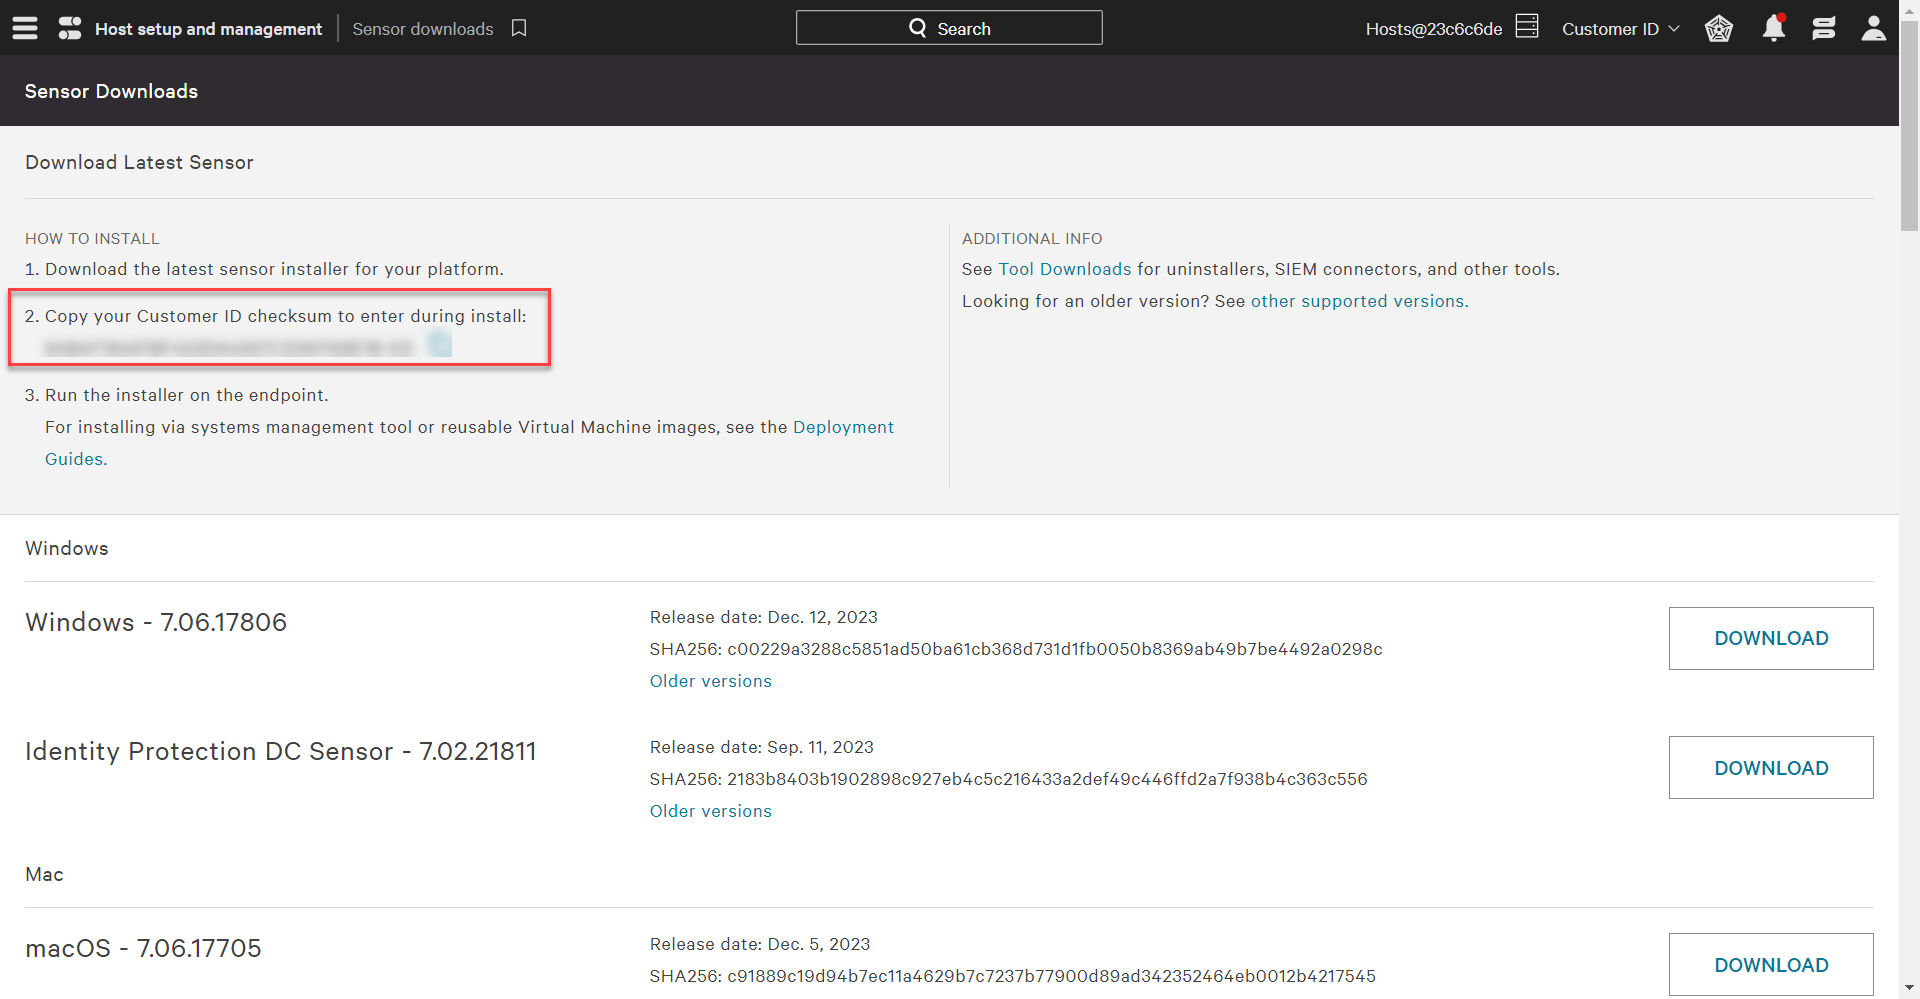
- In the Falcon Console, click the main menu icon in the upper-left side of the screen.
- Click the “Host Setup and Management” category.
- Click “Sensor Downloads” under the “Deploy” category.
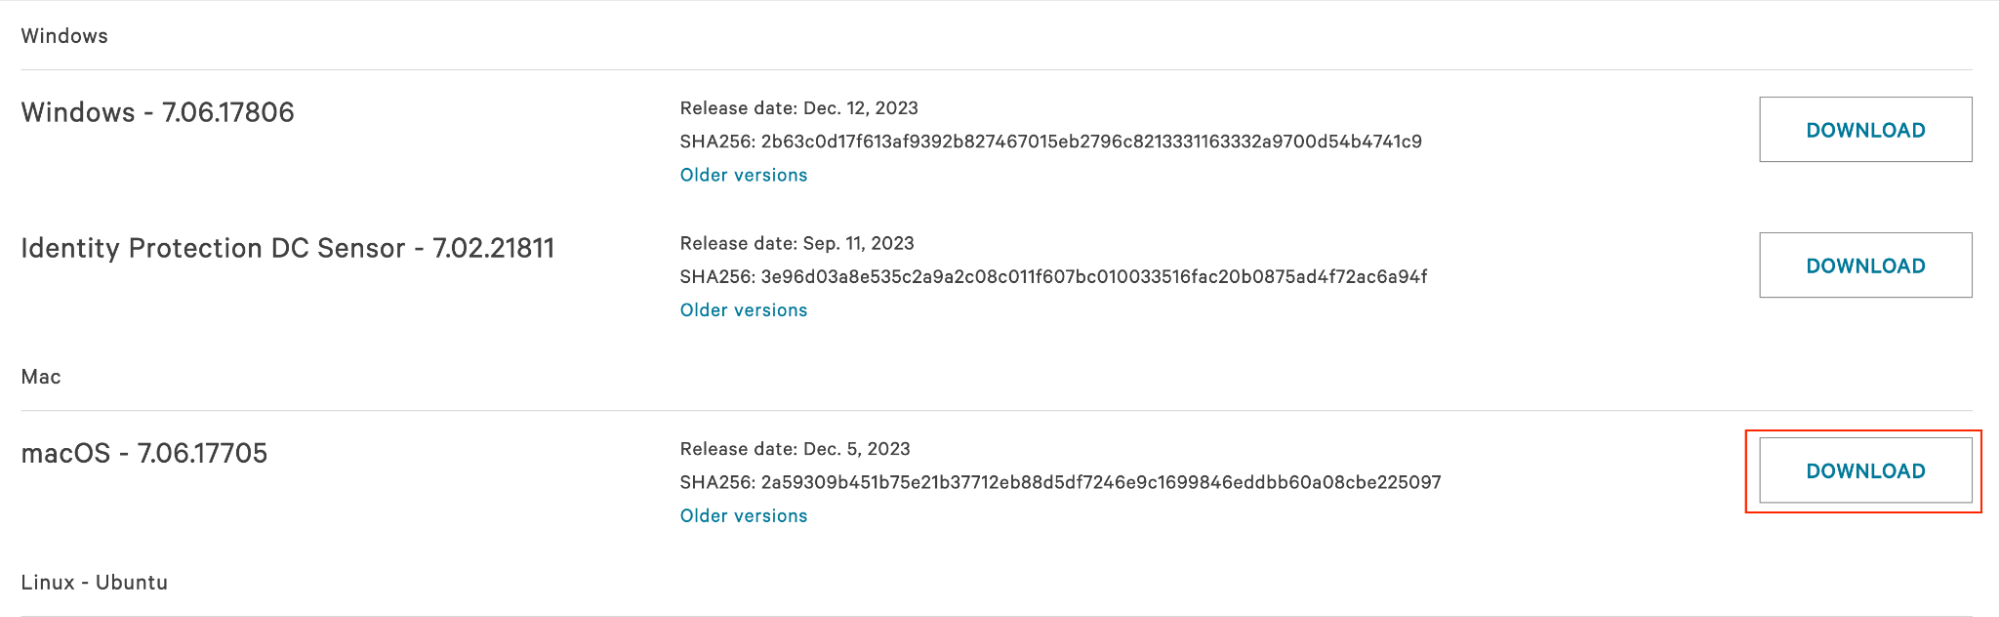
- Find the Mac sensor and click the download button to download the sensor.
On the Sensor Download page, you will also find your Customer ID. You will use this unique ID during the installation process to tie your sensor back to your Falcon instance. Use the copy button next to the ID to copy it to the clipboard.
Installing the Sensor
This demonstration will follow a manual installation of the Falcon sensor. Automated installation can also be done via a system management tool such as SCCM. For details on automated installation, see the in-product documentation linked in the console.
Step-by-Step Installation
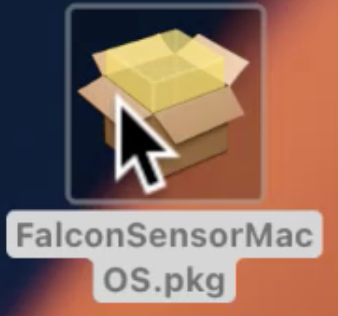
- Download the Installer: After downloading the latest Falcon Sensor installer from the Falcon console, initiate the process by double-clicking the package.
- Introduction: Carefully review the sensor version and click “Continue.”
- Privacy Policy and Terms of Use: Review the CrowdStrike privacy policy and Sensor terms of use. Select “Continue.”
- File Size and Installation Type: Review the amount of space needed for the installation and the destination of the install. Then, select “Install.”
- Credentials: As a security measure, you will be asked to provide your system’s password.
- Folder Access: With the provision of your password, the installer will request access to your Desktop folder. Select “OK.”
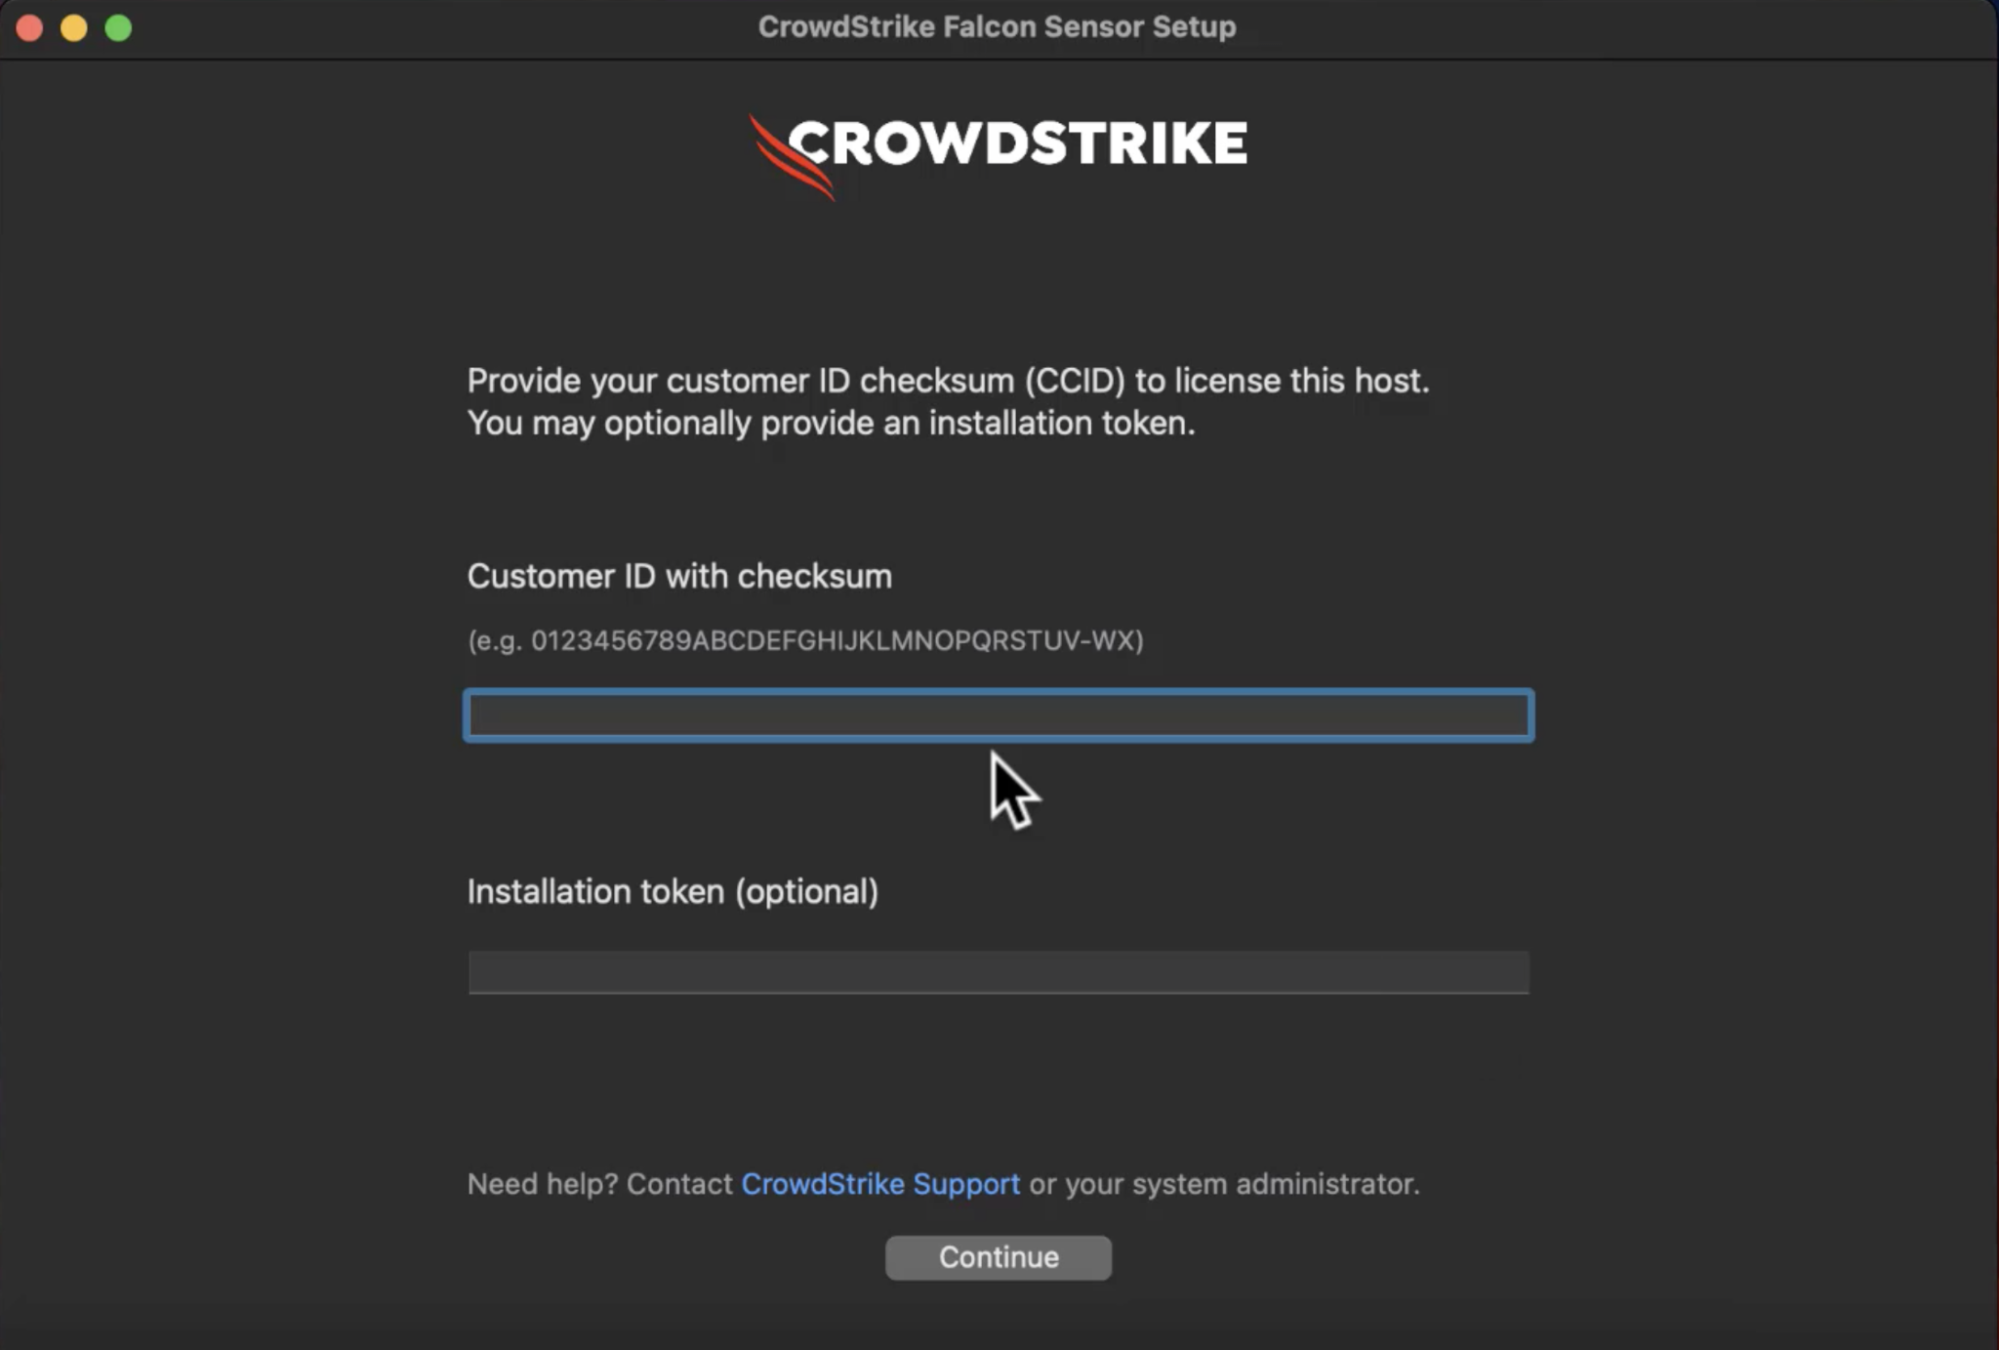
- Customer ID with Checksum: Insert your Customer ID with Checksum into the first box. Your ID can be found within the Falcon Console. Then click “Continue.”
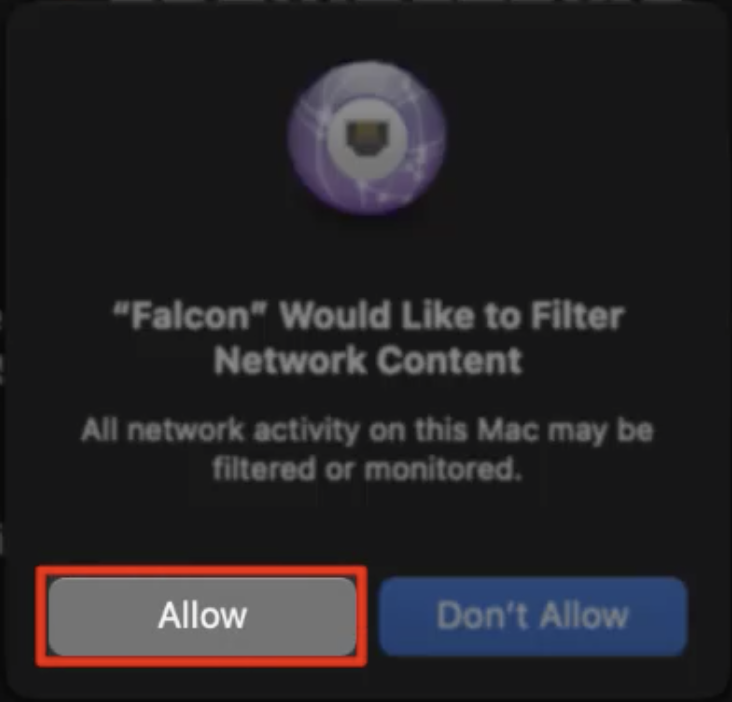
- Filter Network Content: Approve the Network Filter manually. Click “Setup” and then “Allow” when prompted. Click “Continue.”
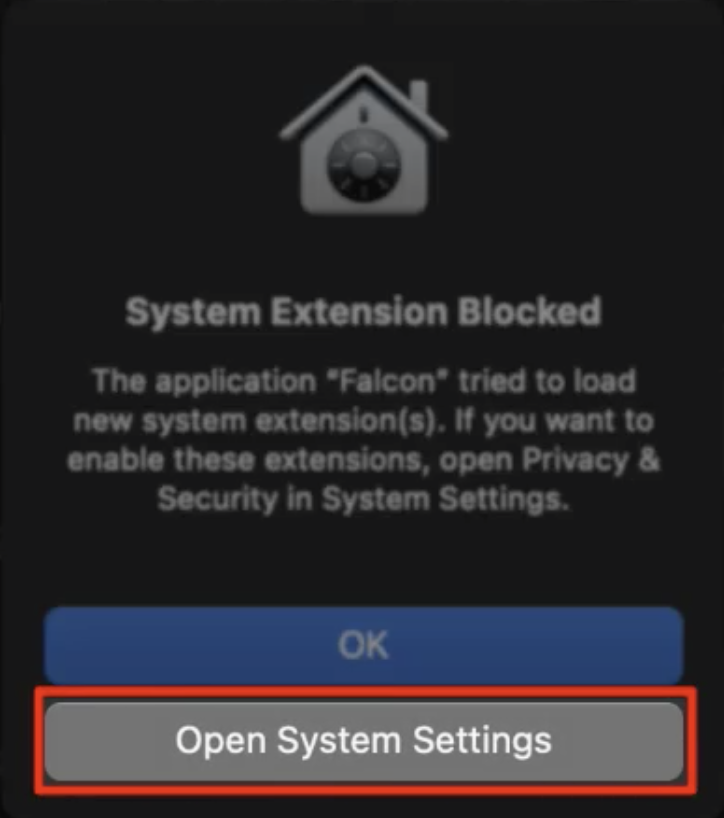
- Extension Approval: Approve the Falcon extension by selecting “Setup.” When prompted with the block alert, select “Open System Settings.”
- Privacy and Security: In the Privacy and Security menu, locate the prompt stating that system software from the Falcon application was blocked from loading and select “Allow.”
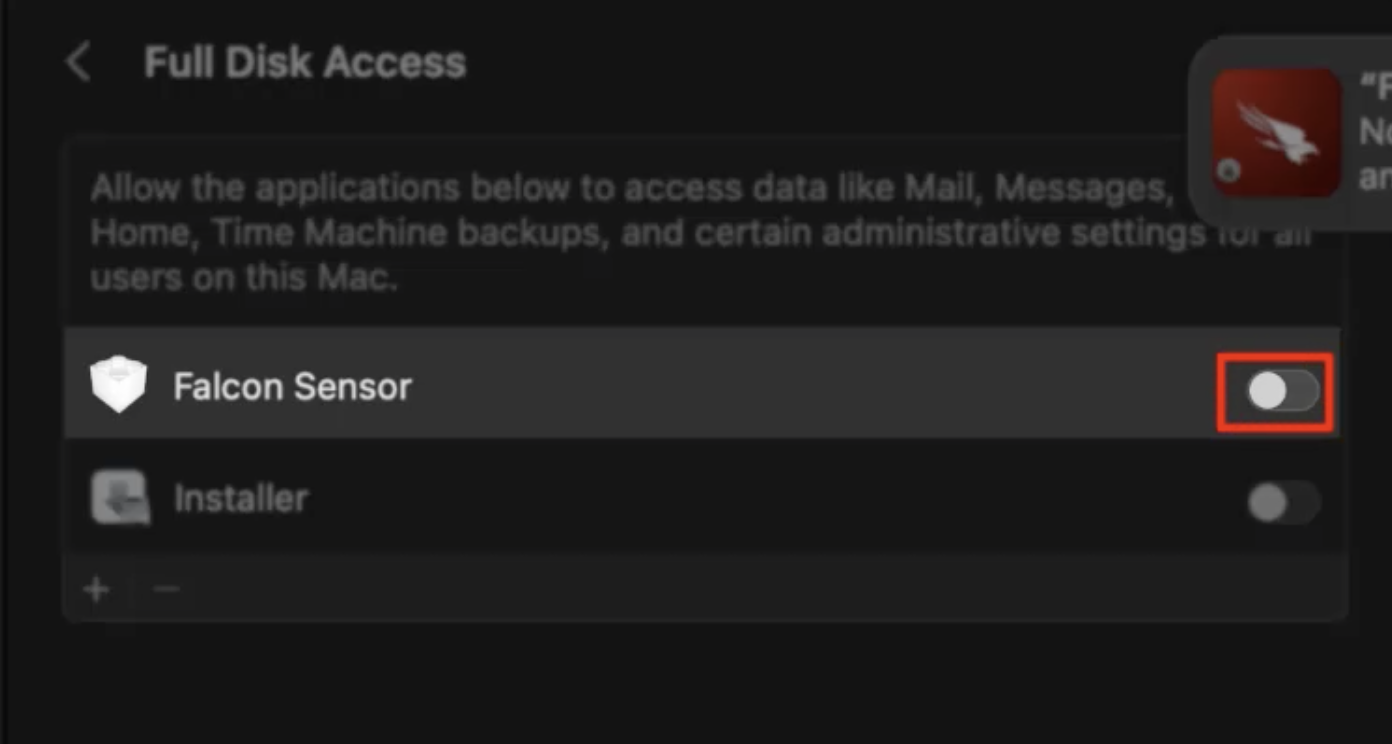
- Full Disk Access: Grant full disk access on your host for the sensor to work properly. Select “System Settings,” toggle the “Falcon Sensor” option, and insert your password again.
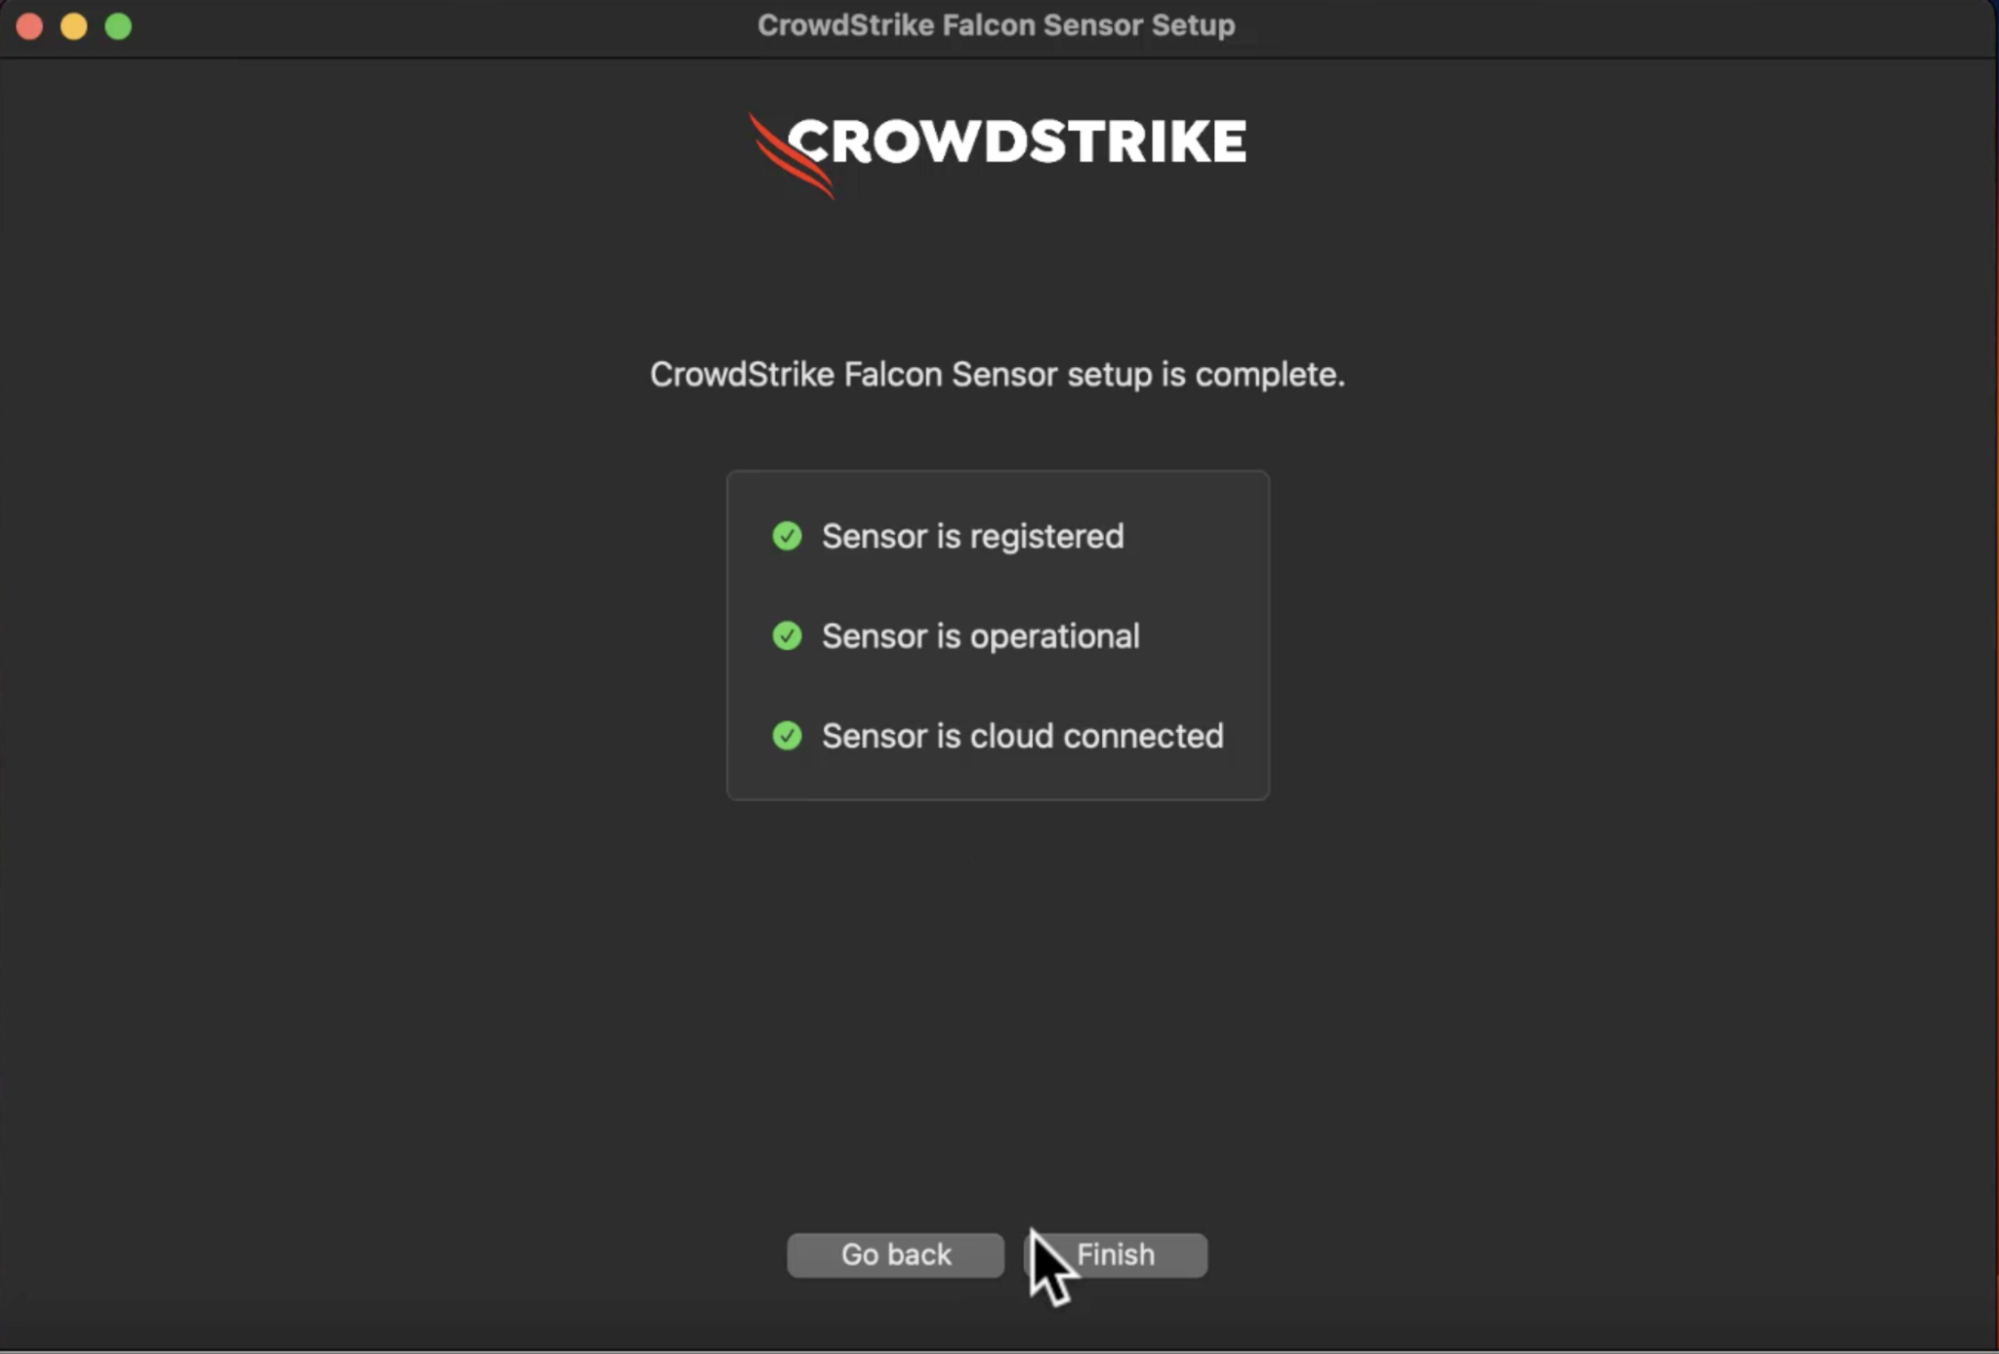
- Completion: After closing the system preferences window, click “Continue.” Your sensor installation is now complete.
Conclusion
CrowdStrike’s Falcon Sensor brings a new level of cybersecurity ease and effectiveness to Mac environments. By eliminating the common hurdles of installation and integration, it empowers organizations to extend robust protection across their diverse digital landscape. With the Falcon Sensor, securing your Mac devices is no longer a complex task but a straightforward step towards a stronger, more resilient cybersecurity posture.
By following these steps, you can seamlessly install and start protecting your Mac environment in minutes, ensuring comprehensive security with minimal disruption to your operations.