Install Falcon Sensor for Windows
May 2, 2024
| Tech Hub•Charlotte AI•Cloud Security•Data Security•EDR•Exposure Management•Intelligence•IT Automation•ITDR•Next-Gen SIEM
Summary
In this resource you will learn how to quickly and easily install the Falcon Sensor for Windows.
The Problem
Deploying cybersecurity shouldn’t be difficult. Many security tools on the market today still require reboots or complex deployment that impact your business operations.
The Value of the CrowdStrike Falcon Platform
CrowdStrike’s Falcon sensor is simple to deploy and doesn’t interrupt your organization with required restarts.
Seamlessly install and start protecting your environment in seconds, all with a single, lightweight sensor used across the entire Falcon Platform.
This article covers the manual installation of the Falcon Sensor for Windows. Installation can also be automated through the use of a system management tool.
Downloading the Sensor
Start by downloading the latest Falcon sensor.
In the Falcon Console, click the main menu icon in the upper-left side of the screen. Then, click the Host Setup and Management category. Finally, click Sensor Downloads under the “Deploy” category.
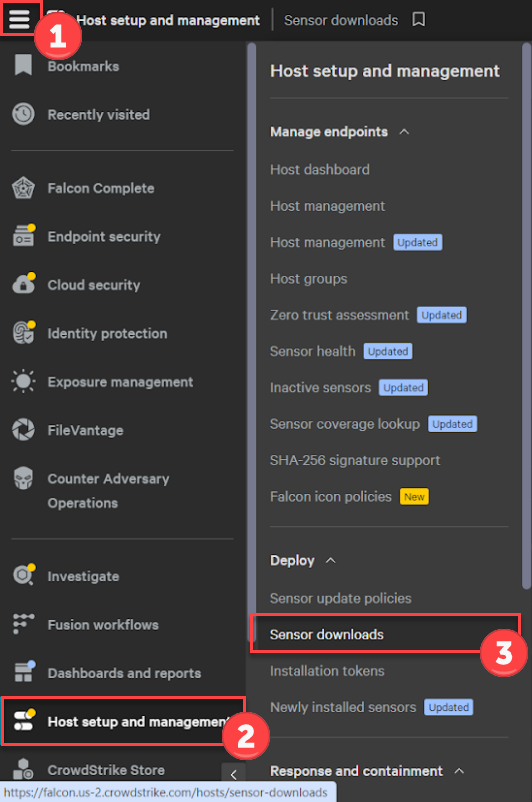
Find the Windows sensor, and click the download button to download the latest sensor to your machine.
A link to previous sensor versions is also provided if your organization is using an N-1 or older sensor version.

Find Your Customer ID
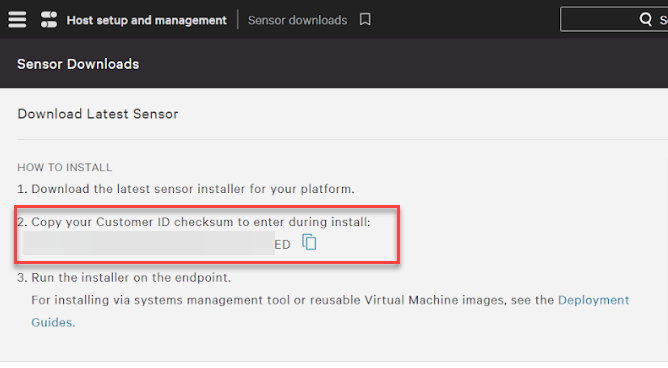
On the Sensor Download page you will also find your Customer ID.
You will use this unique ID during the installation process to tie your sensor back to your organization’s Falcon instance. Use the copy button next to the ID to copy it to the clipboard.
Installing the Sensor
This demonstration will follow a manual installation of the Falcon sensor.
Automated installation can also be done via a system management tool such as SCCM. For details on automated installation, see the “Deployment Guides” in product documentation linked on the sensor download page.
On the endpoint you want to install the sensor on, run the sensor installer executable you downloaded previously.
Accept an End User License Agreement (EULA), then enter your customer ID. As mentioned previously, this can be found on the sensor download page.
Optionally, you can also provide an installation token. Installation tokens are used to prevent unauthorized hosts from being added to your customer ID. Installation tokens can be enabled via the API or in the Falcon Console by navigating to the Main Menu, then clicking Host Setup and Management, and finally clicking Installation Token.
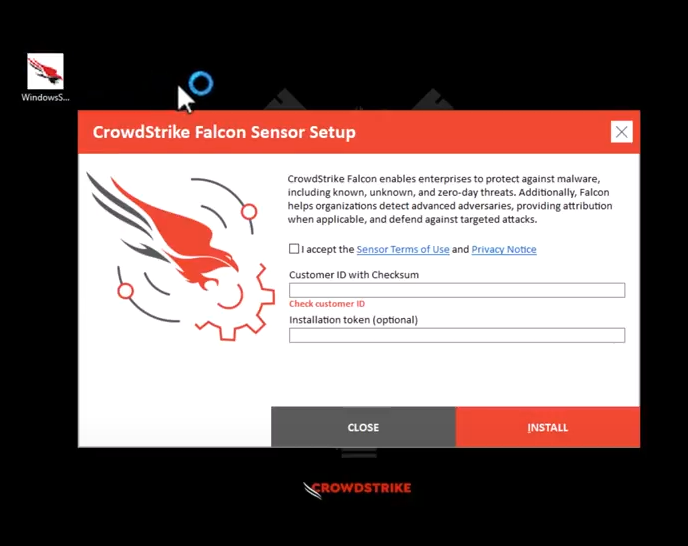
Finally, click install. If prompted by your OS to allow the installation, click yes to confirm. No restarts are required for sensor install – so you can deploy without interruption.
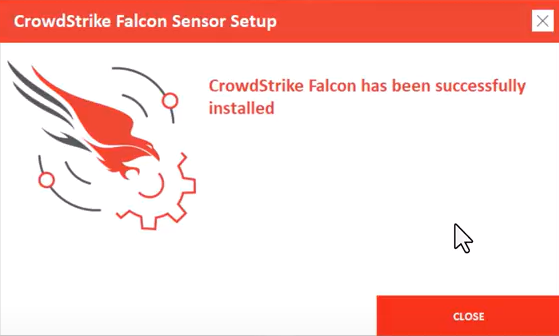
The CrowdStrike Falcon Sensor is now installed.
Confirming Installation
To verify installation, you can run the following command on the host:
sc.exe query csagent
The output of this command should have “running” as the state indicating successful installation.
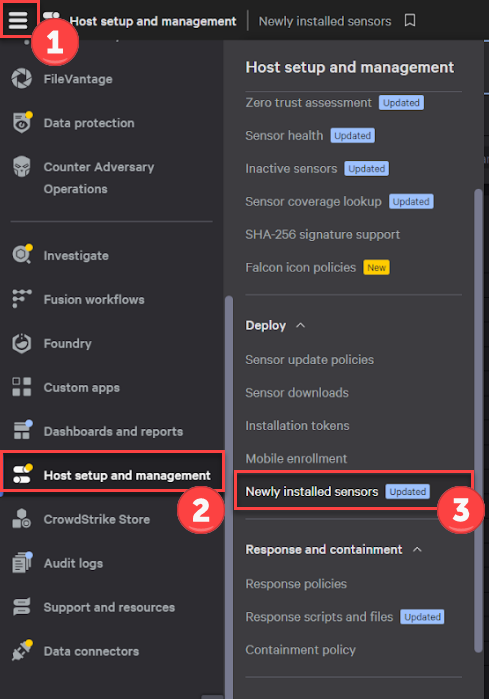
You can also confirm installation from within the Falcon Console. Click the Main Menu Icon, then under the Host Setup and Management tab click the Newly Installed Sensor page.

The Newly Installed Sensor page displays all new hosts that have had the Falcon sensor installed in the given time range. This page can be used to review multiple installations from a single view.
Summary
That’s how simple installing the Falcon Sensor is. In minutes, you can enable next generation protection for your environment with the CrowdStrike Falcon Platform. All with no restarts, and no interruption to your business.